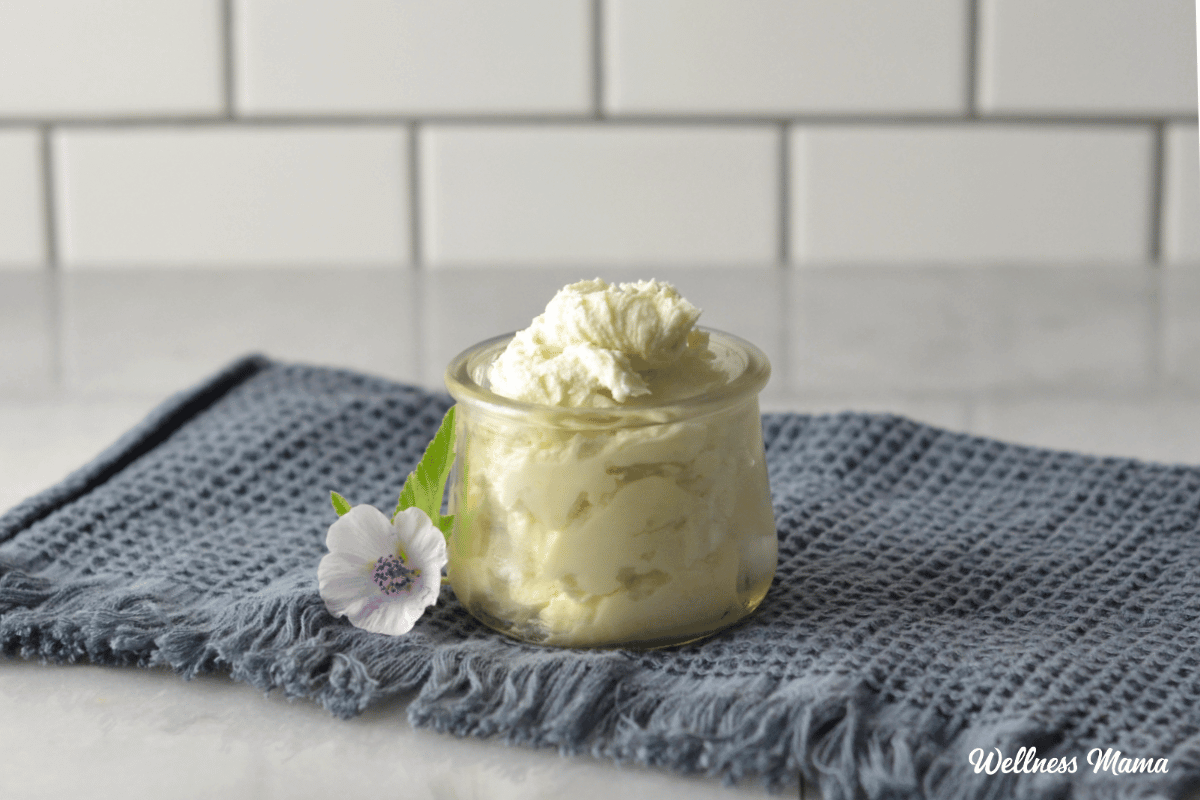
Over the years I’ve adopted a few basic habits that have really helped transform my health. Prioritizing quality sleep is one of those habits. This calming sleep lotion uses the benefits of aromatherapy to help you get a better night’s sleep.
What is Sleep Lotion?
The name kind of gives it away, but this is a lotion (or body butter) that’s great to add to your bedtime routine. And it’s safe for kids so they can have a goodnight too. I use lavender oil and cedarwood essential oils which are both kid safe.
Lavender and cedarwood both calm and relax, but you could add other relaxing essential oils too. Play with the combination until you get the scent you want! For kids, I do about 20-40 drops of essential oils in total (.5 to 1% dilution). Adults can safely double the amount, but you may not need that much. I’m a fan of more subtle scents myself.
The base is made of moisturizing and hydrating oils and butters so it’s also great for dry skin. And even if your skin type leans toward oily this can just go on your feet or legs so it works for most people. I would avoid the face area though since coconut oil can clog pores.
Why Make Your Own?
As with most body care products, there are plenty of options out there I’d prefer to avoid. Ingredients like phthalates and parabens aren’t something I put on my skin (or my kids!). Some of the most popular in-store sleep body lotions, like Dr. Teal’s, also add melatonin. Melatonin is a controversial hormone, especially for kids. And when it’s in a skincare product it’s also difficult to control the dose.
Another popular choice is the body lotion from Bath & Body, but I had a hard time even finding any listed ingredients.
Where to Buy Sleep Lotion
While there are plenty of not so great brands available, there are a few companies with great sleep lotion. They can have other skin nourishing ingredients like aloe and glycerin in their formulas. If you don’t have the time or desire to make your own, here are a few good options. They’re cruelty free and have clean ingredients.
My favorite is the magnesium lotion from Magnesium Lotion Shop! They do have one specifically for sleep with lavender (Lavandula angustifolia) in it, but it also has melatonin. Something to watch if you want to avoid melatonin.
Ingredients for Sleep Lotion
This sleep lotion uses a combination of coconut oil, shea butter (Butyrospermum parkii), and cocoa butter (theobroma cacao). The shea and cocoa butter are super nourishing and also help harden the lotion. Once hardened I whip it until it’s nice and creamy.
This is a heavier lotion so I don’t rub it all over my body, just the feet and up the legs a little. You can also replace some of the coconut oil with a few teaspoons of rosehip seed oil if preferred. Rosehip oil is astringent so it helps keep things drier. Jojoba is another good option since it mimics skin’s sebum.
The vitamin E oil is optional and helps to extend the shelf life of the oils. It’s not a preservative, but since this doesn’t have water in it, it will last at least 6-12 months if stored properly. There are a lot of vitamin E blends out there. You want to find something that just says “mixed tocopherols” or “tocopheryl acetate” on the label.
Infused Oil
If you want to take this a step further you could also infuse the coconut oil with relaxing herbs first. Lavender, chamomile, and rose are all great for this. Here are instructions for how to make a solar-infused herbal oil.
DIY Calming Sleep Lotion
Equipment
- Stand mixer (or hand mixer)
Materials
- ½ cup coconut oil
- ¼ cup shea butter (or mango butter)
- ¼ cup cocoa butter
- 1 tsp vitamin E oil (optional)
- 20 drops cedarwood essential oil (10 drops for kids)
- 20 drops lavender essential oil (10 drops for kids)
Instructions
- Add the coconut oil, shea butter, and cocoa butter to a double boiler. You can also use a heat-safe glass bowl on top of a pot filled halfway with water.
- Heat, stirring occasionally until melted.
- Add the vitamin E oil if using and the essential oils. Stir to combine.
- Immediately pour into a stand mixer bowl or mixing bowl and let cool completely. I put mine in the fridge to harden.
- Once hardened, use the whisk attachment to whip until it’s fluffy and creamy.
- Store in a glass jar in a cool place away from direct sunlight.
Notes
More Ways to Wind Down
If you’re looking for some more ways to get a good night’s rest, I’ve come up with quite a few over the years. They’re a great way to help you or your family get quality sleep and you don’t have to do just one.
- Magnesium lotion
- Epsom Salt Lavender Mint Bath
- Sunlight Benefits for Sleep
- Sweet Dreams Sleep Tincture
- Weighted Blanket Benefits
- Tart Cherry Sleep Gummies
- DIY Sleepy Time Foot Spray
What’s your favorite way to relax in the evenings? Leave a comment and share below!


Leave a Reply